Custom printed mailer boxes need enough room for your products and their protection, with a lid that closes cleanly. Start with the packed layout before choosing a size or filling the artwork with graphics. A good-looking box still needs to keep its contents in place through the journey to your customer.
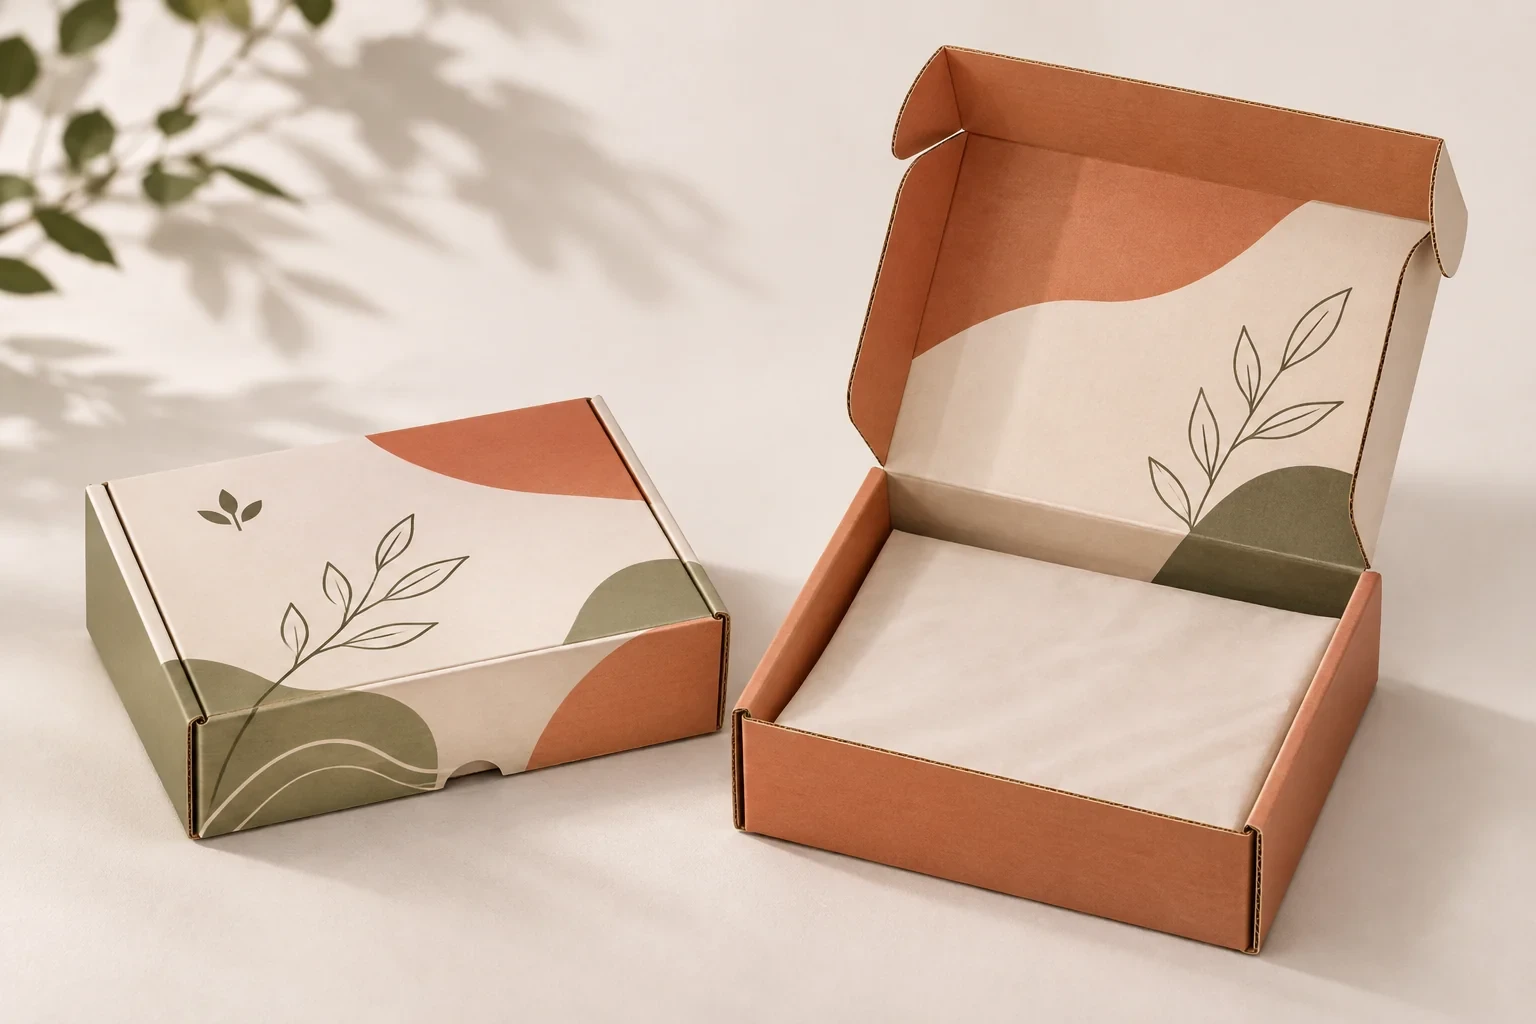
Size the inside around the complete contents
Lay out everything that goes into one parcel, including retail cartons, cards and protective material. Record the largest product dimensions and the total packed weight. Tell the supplier whether your measurements describe the products, the inside of an existing box or its outside. Those are different starting points.
Avoid adding an arbitrary gap to every side. A folded insert, a foam pad and loose wrapping need different amounts of space. Confirm the allowance on a sample with the real contents.
Give each product a stable place
An insert should hold the items where you need them and still let the customer take them out. Pay attention to small accessories beside larger products. A box can look full while a narrow item is free to slide under the rest of the set.
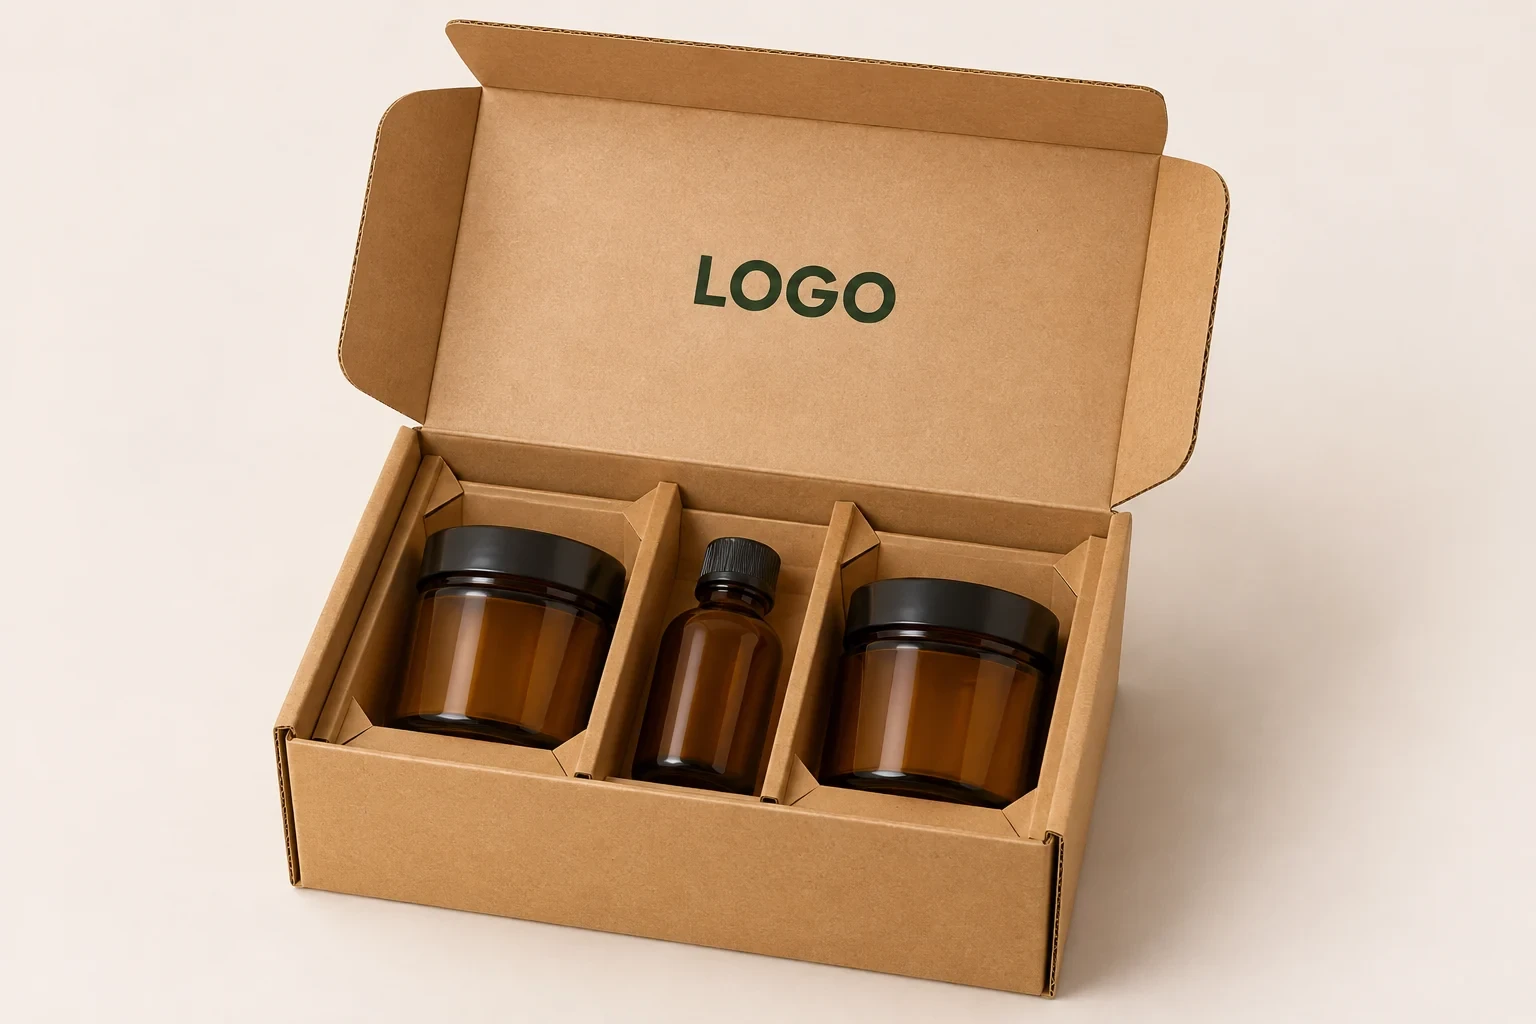
Folded paper or corrugated support
What to check on the sample: Whether the folds hold the products and allow easy packing.
Cut foam insert
What to check on the sample: Cavity depth, product grip, removal space and any top pad.
Loose wrapping or cushioning
What to check on the sample: Movement after closing and protection at vulnerable surfaces.
We can compare paper and foam insert options around your products. Material names alone do not settle protection. Try the proposed board and insert together with the complete load.
Decide which surfaces will be printed
Specify outside printing, inside printing or both when requesting the quote. Ask for the artwork to show the panels as the customer sees them when the box opens. Check the orientation of the inside message and leave the closure and bonding areas as the supplier requires.
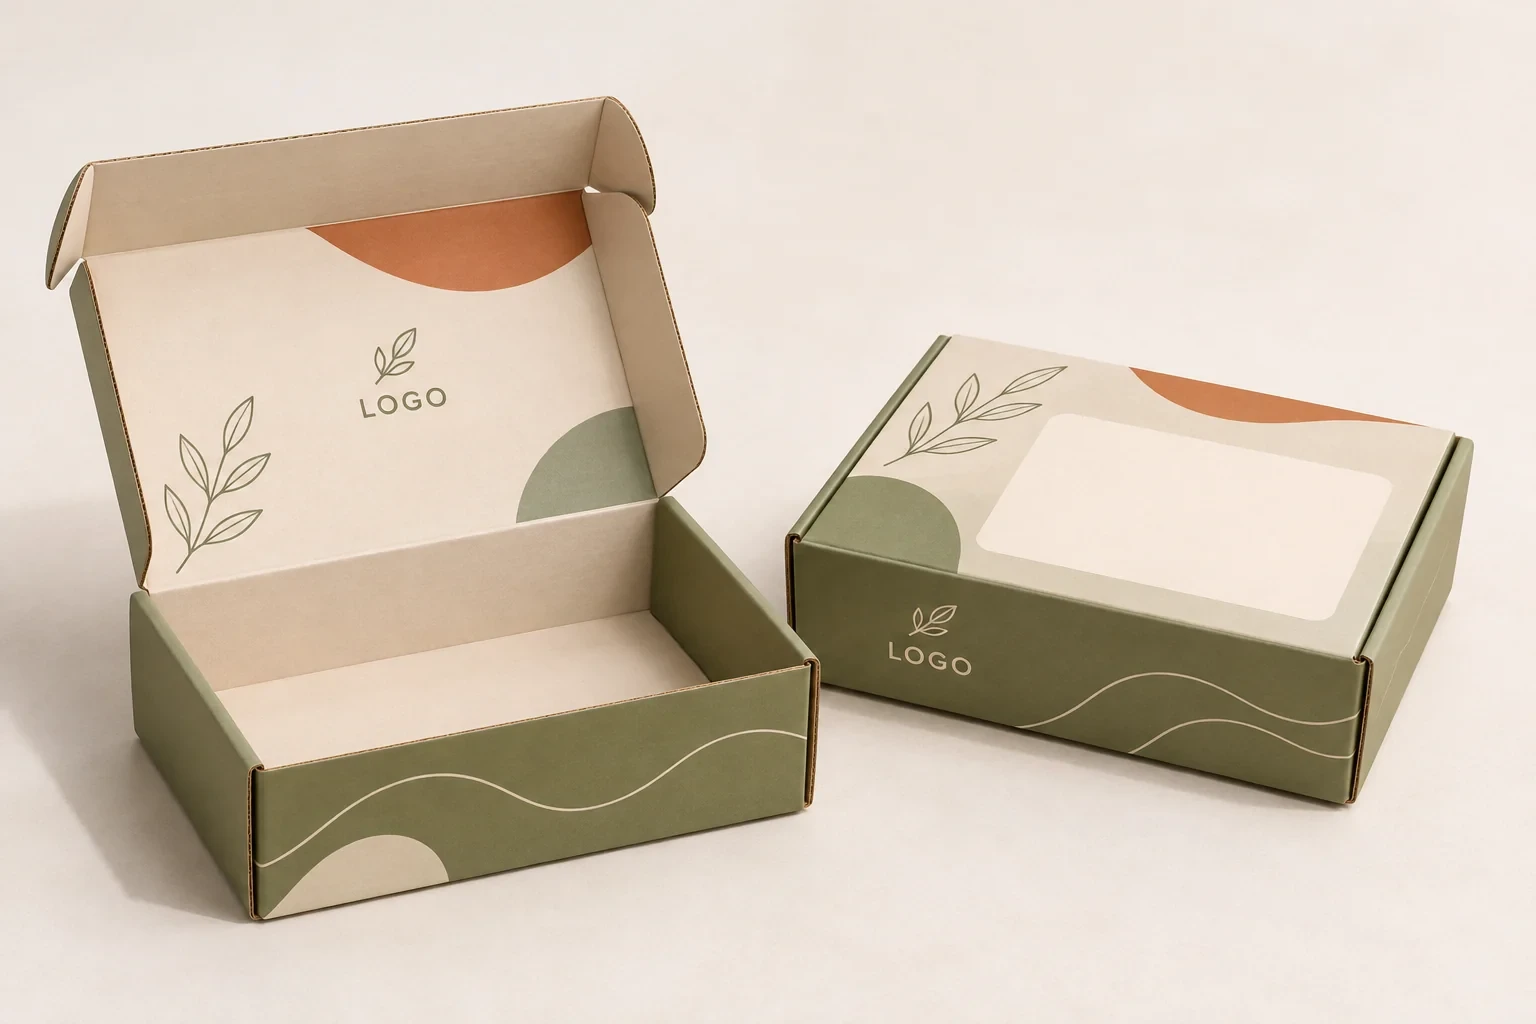
If the mailer will travel as the outer parcel, reserve a practical shipping-label area. Decide whether scuffs on the printed exterior are acceptable or whether the product needs an additional outer pack. That choice affects cost and packing time.
Close the sample with everything inside
Check the corners, front tabs and lid with the full contents in place. The box should close without forcing or bulging. Open it again and check for rubbing, crushed retail cartons or items that have moved. Ask what further transport evaluation is appropriate for the product and shipping route. A neat mockup or an empty-box check cannot establish performance in transit.
Compare the two shipping stages separately
First, the empty mailers travel from the box supplier to your business. They can often be supplied flat, so ask for the master-carton packing plan and the local assembly steps.
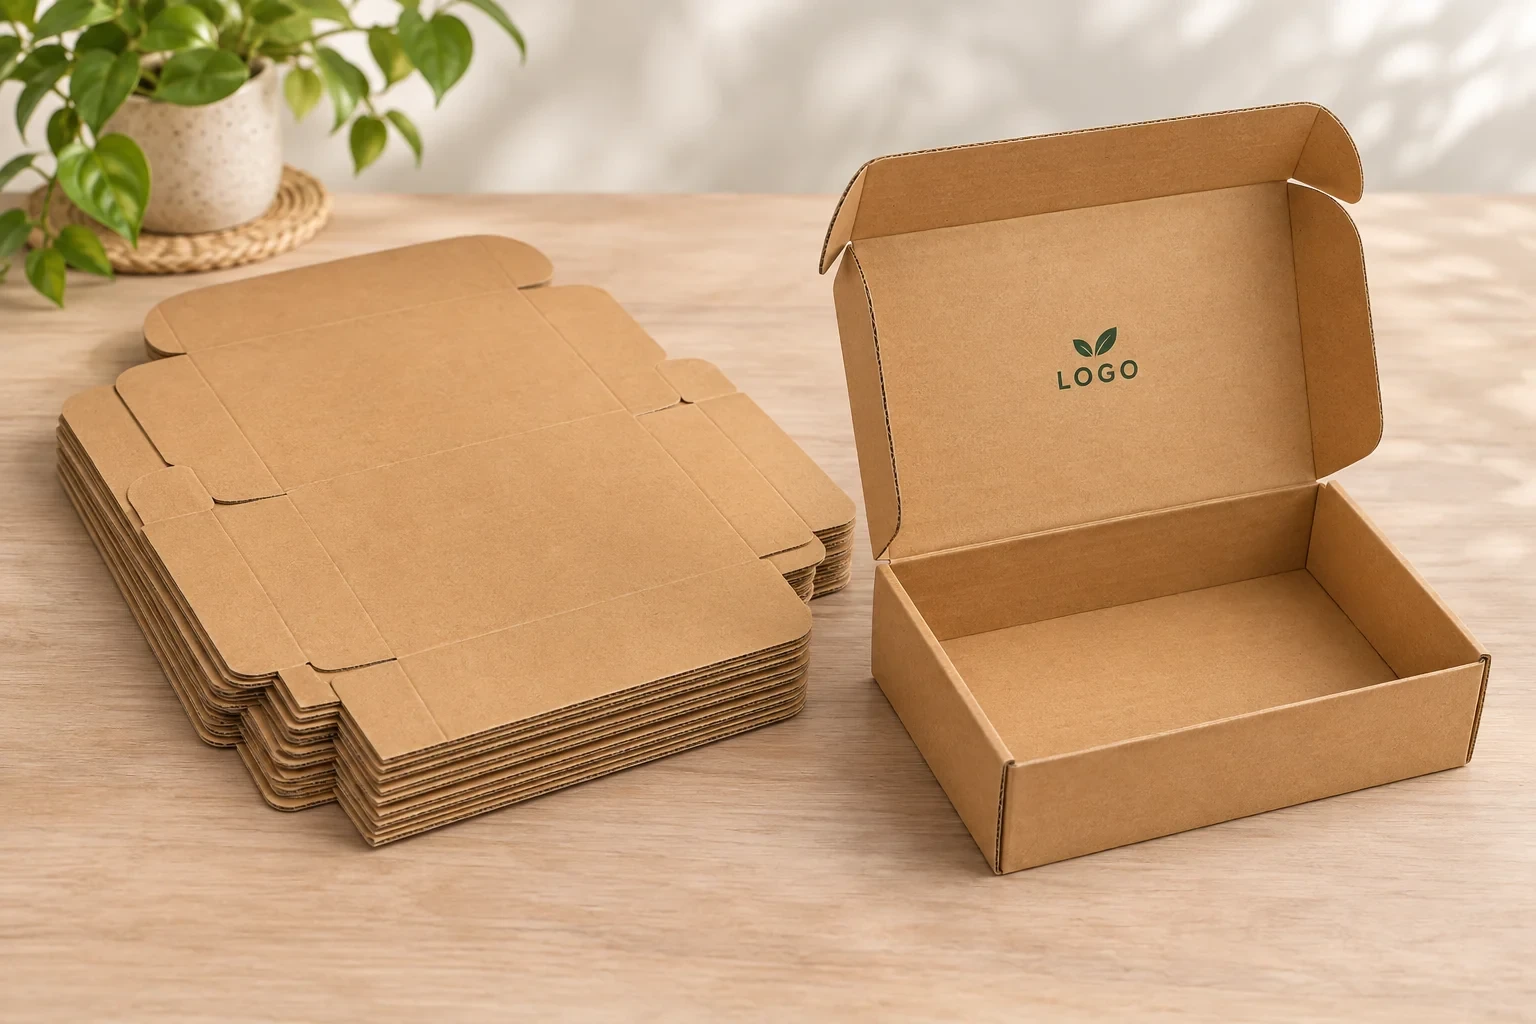
Then your filled parcels travel to customers. Measure the finished outside dimensions, including any extra outer packaging. FedEx explains dimensional weight and how parcel charges can depend on the space a package occupies as well as its actual weight. Compare the finished pack using your carrier's current service terms.
Keeping these stages separate helps you compare total cost. A low price per empty box can be outweighed by unnecessary parcel size or extra packing work at your business.
Get a custom mailer quote from LEETOP
Our custom mailer boxes start at 100 pieces, with free initial design and a mockup. Physical samples are quoted separately. Send the full product layout, dimensions, packed weight and quantity through our design and quote form. Add your preferred print areas and delivery postcode so we can compare a practical box and insert combination.